🚀 Stop Coding, Start Flying: How to Unlock GitHub Copilot Pro for FREE as a Student
The future of coding is here, and it’s powered by AI. Are you still grinding through boilerplate code and searching Stack Overflow for every minor function? What if you had an AI pair programmer working alongside you, writing code, suggesting solutions, and debugging in real-time?
That’s the power of GitHub Copilot Pro.
Normally, this game-changing tool costs $20 a month. But here’s the secret: if you’re a student, you can get it for absolutely free. This isn’t a limited trial—it’s the full Pro version, available through the incredible GitHub Student Developer Pack.
Ready to transform your academic and personal coding projects? Let’s dive into the step-by-step guide on how to claim your free access!
What is GitHub Copilot Pro and Why Should You Care?
GitHub Copilot Pro is more than just an autocomplete tool. It’s a generative AI that draws context from the code you’re writing to offer full lines, entire functions, and even complex logic.
🧠 The Pro Difference:
| Feature | Basic Copilot | Copilot Pro |
| Model | Fast, but restricted access to latest models | Prioritized Access to the newest, fastest models (e.g., GPT-4) |
| AI Chat | Available in VS Code | Available in GitHub.com and the GitHub Mobile App |
| Context Window | Standard | Larger Context Window for better understanding of large files |
| Image Generation | No | Generate code-related images via Copilot Chat |
| Local Processing | No | Enhanced for local running in the future |
The bottom line: Copilot Pro gives you the best, fastest, and most integrated AI coding experience. It’s the ultimate productivity hack for any student developer.
1. Prerequisites: The Student Superpower (GitHub Student Developer Pack)
Before you can claim Copilot Pro, you need to unlock the master key: the GitHub Student Developer Pack.
This pack is an absolute goldmine, offering over $100,000 in free developer tools and services (like JetBrains IDEs, Microsoft Azure credits, and domain names) just for being a student. Copilot Pro is one of the most exciting new additions!
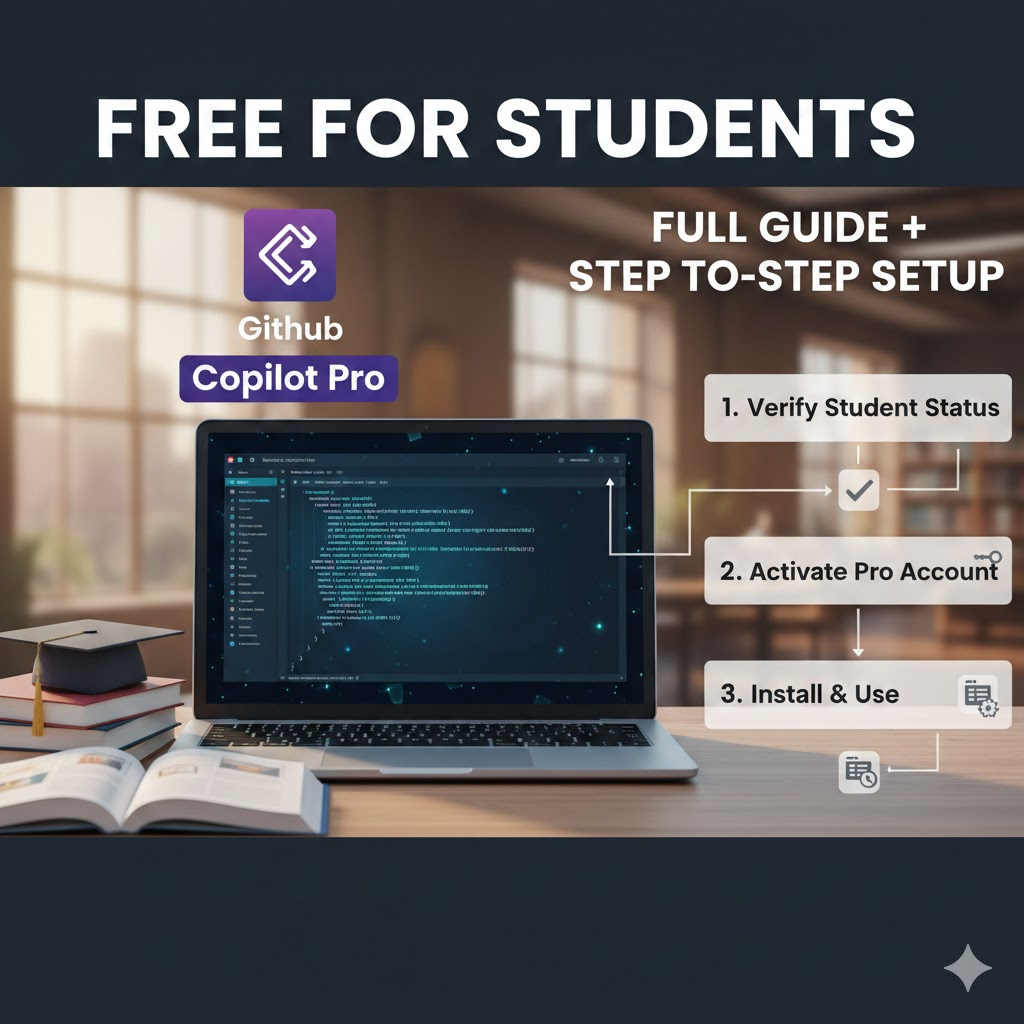
Step-by-Step 1: Verify Your Student Status
- Go to the GitHub Student Developer Pack page: Search for “GitHub Student Developer Pack” or navigate to their education portal.
- Click “Get the Pack” and then select “Get student benefits.”
- Create or Sign in to your GitHub account.
- Complete the application form: You will need to provide proof of your student status. This is the most crucial step!
- Required Documentation: This is usually your school-issued email address (e.g.,
@university.edu) and a clear photo of a valid, dated student ID card or a transcript/enrollment letter showing the current term. - Pro-Tip: Make sure your student ID is clear and shows a current date. If it doesn’t have a date, use an acceptance letter or a current-term schedule.
- Required Documentation: This is usually your school-issued email address (e.g.,
- Submit your application.
What now? GitHub’s team reviews applications manually, which can take a few days, but often takes less than 24 hours. You will receive an email confirmation once you’re approved.
2. Activating Your Free GitHub Copilot Pro Subscription
Once you receive the glorious approval email, you can proceed to the final step!
Step-by-Step 2: Claiming Copilot Pro
- Navigate to the GitHub Copilot subscription page.
- You should now see the Student Developer Pack benefit applied. GitHub automatically recognizes your verified student status.
- Look for the Copilot Pro option. Since your student verification covers the eligibility, you will be prompted to start your free subscription.
- Confirm the activation. You might need to accept the terms of service. You will NOT be asked for credit card details to initiate the free student plan.
- Success! Your GitHub account now has a GitHub Copilot Pro subscription attached, valid for the duration of your student verification (typically 1-2 years, and renewable!).
3. Install and Integrate: Putting Your AI to Work
Now that you’ve secured your free Pro account, it’s time to let the AI do the heavy lifting.
Step-by-Step 3: Installation
- Install the Copilot Extension: The most popular integration is in Visual Studio Code (VS Code).
- Open VS Code.
- Go to the Extensions view (Ctrl+Shift+X or Cmd+Shift+X).
- Search for “GitHub Copilot” and install the official extension.
- Log in to GitHub: The extension will prompt you to sign in to GitHub. Use the same account you used for the Student Pack.
- Authorize Access: You will be taken to your browser to authorize VS Code to access your GitHub account. Click “Authorize GitHub Copilot.”
How to Use Your New Power:
- In Your Code: Simply start typing a comment describing what you want (e.g.,
# function to calculate the factorial of a number) and watch Copilot suggest the entire function body. Or, start writing a function signature, and Copilot will instantly suggest the implementation. - Copilot Chat: In VS Code, look for the Copilot Chat icon. You can ask it questions like:
- “Explain this code block.”
- “How can I refactor this to be more efficient?”
- “Write a unit test for the
loginUserfunction in this file.”
- On GitHub.com (Pro Feature): Use Copilot Chat directly on the GitHub website to help you understand repositories, suggest changes in pull requests, and more!
💡 Maximize Your Free Access
Your Copilot Pro access is tied to your Student Developer Pack validity.
- Renew Annually: Most student verifications are valid for 12 months. Before your benefits expire, simply re-apply for the GitHub Student Developer Pack using a current student ID or enrollment letter.
- Keep Your Email Active: Ensure your GitHub account is linked to an active student email for a smoother re-verification process.
Stop typing, and start coding faster than you ever thought possible. The AI pair programmer is waiting—go claim your free access and witness the massive leap in your coding productivity!